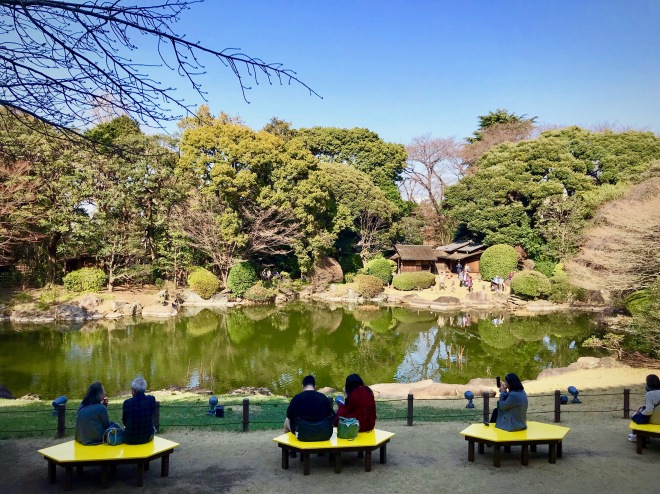
It’s now almost a month since we got back from our honeymoon in Japan and I am still longing for the incredibly fresh seafood, amazing customer service, clean streets, efficient public transport and heated toilet seats. And not necessarily in that order either.
Japan has been on my travel bucket list for a long while and since both G and I had never been, it was a no-brainer for our honeymoon destination. I wanted to maximise our experience there as much as possible so I researched the heck out of it beforehand. A year or two ago I managed to get my hands on discounted latest editions of Japan travel guides by Lonely Planet and Rough Guides in Homesense. I was also stoked to find the Monocle Travel Guides for Kyoto and Tokyo in my favourite independent bookshop. Plus the internet is a wealth of information on itinerary ideas, top attractions to visit, lesser known places to check out and food food food to eat.
After much deliberation I settled on this breakdown for our two-week break:
Tokyo 4 nights
Hakone 1 night
Kanazawa 2 nights
Kyoto 4 nights
Tokyo 1 night, then flight out
I wanted a balance between checking out the more touristy destinations in the two larger cities of Tokyo and Kyoto and more laidback days in smaller towns like Hakone and Kanazawa. On reflection, although I felt we had to visit Tokyo and Kyoto to check them off our must-do list, we both enjoyed the other two places more as they were less crowded and we had more space and time to just soak it all in.
This post will mainly be on logistics and hopefully you’ll find some of it helpful. When I’ve written about each leg of our holiday, I’ll post the links here too.

Flights
According to some websites, international flights are cheapest about 60 to 70 days prior to flight date, but this figure does vary and can go up to 90 or 120 days. I set up an alert on Skyscanner several months prior to track the cost of flights so I could catch them at their cheapest. I bought our flights just under 12 weeks prior to travel as the prices were starting to creep up that week. As we were going to Malaysia for our second (traditional Chinese) wedding before the holiday, it was a choice of either three single flights (UK-KL, KL-Tokyo, Tokyo-UK) or two return flights (UK-KL-UK, KL-Tokyo-KL) and a quick search showed that the two return flights were a lot cheaper than three single flights. The priciest leg of the 3-flight journey would have been the Tokyo-UK flight. Also, flying in an out of Kuala Lumpur gave us more leeway in terms of luggage space to and from Japan as we could stash all wedding related paraphernalia with my parents before flying back home. And trust me, you will want all the luggage space you can get in Japan, there are amazing finds to be gotten there!
Public transport in Japan
I bought a Japan Rail (JR) pass to cover the train journeys between the cities and from Narita airport to central Tokyo. It turned out to be the best purchase of the trip really. Using the pass not only worked out slightly cheaper, the convenience it afforded us was invaluable. I would have found buying tickets from the travel office or ticket machines for every single journey we made very stressful and time consuming. All we had to do was walk through the counters located beside every turnstile area whilst showing the pass. To calculate whether this is worth the cost for you, use Google maps with the public transport option and journey prices will be shown. Just check the train lines on the JR website to see if they are covered by the pass. Also, reserving seats in advance for your train journeys is not compulsory. From what I saw, there are usually about 12 to 14 carriages per train and at least half of these were unreserved carriages. I do recommend making reservations though if you are travelling during holidays or on weekends to the major cities. We reserved all our journeys in advance at Shinjuku station for the whole two week period. Just a note that the Tokyo station counter was more restrictive and only allowed passengers to reserve tickets 24 hours in advance.
JR company also runs the Chuo and Yamanote train lines within Tokyo which are covered by the pass. These lines serve major stops that cover most tourist attractions. We did however buy a 72-hour Tokyo subway ticket as well as our hotel was located by one of the smaller stations and it took away the hard work of figuring out which stations we were allowed to use. It’s worth timing when you start using the ticket, as it’s not a three day ticket per say, but expires 72 hours from your first use.
The most incredible fact is that the trains run on time! The only journey in the whole two week period that ran late was the Tokyo-Odawara train, and even that was only one minute delayed. I can’t stop telling everyone about this, and can’t help comparing this to the state of the British rail service. The carriages are wide, there is plenty of leg space and overhead space for even your huge suitcases and everything is clean. The train conductor bows every time they leave the carriage and the cleaners queue up outside the train whilst you disembark and bow when you pass them. That is the sort of train service I don’t mind paying for.
Wifi
I used Google Maps to get around in Japan and to find out the next train/subway times so wifi was essential. Google Maps also tells you which platform your train leaves from so it makes navigating around the stations (which can be massive) a lot easier.
A couple of the hotels we stayed at provided mobile phones with internet we could have used to get around town. It’s worth finding this out from your hotel/s beforehand if you’re only going for a short trip. If you’re going for longer though, have a look at renting SIM cards if you’re travelling alone or wifi routers if you’re travelling as a couple or in a group. We went with Sakura Mobile’s pocket wifi as it was a lot cheaper than Ninja wifi which seems to be very popular. The catch with Sakura is that after you reach a certain data limit, the internet speed slows down a lot but we didn’t mind that as it happened in the evening when we would then connect to the hotel’s wifi. The hotels have the most amazing wifi speeds so streaming any videos or movies is no problem at all. I reserved the router online and collected it at Narita airport when we landed. Connecting to it can’t be simpler – switch it on and use the password provided when connecting and you’ll have wifi anywhere you go in Japan. It was a slim, lightweight box that was easily carried around in my handbag or G’s backpack. On leaving we just repacked it into the prepaid envelope and popped it into the postbox located behind the check-in counters at Narita airport. This is the only postbox at the airport though, so remember to do this before going through security.
Costings
I kept hearing that Japan is an expensive country to visit and was steeling myself for the final cost of our holiday. In fact, the hotel prices were very similar to British prices, and when we were there, food costs were again very similar to the UK. You could of course splurge out on Kobe wagyu but on the flip side, a sandwich from a convenience store would cost less than 2 quid. We had the best chirashi don (sashimi rice bowl) in a restaurant near Tsukiji market, and that only cost 7 pounds. More on that later!
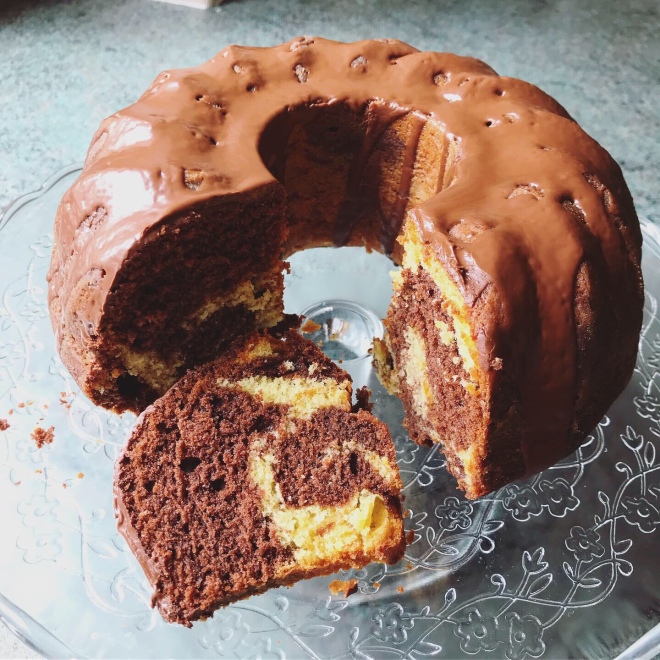 I was hankering to bake something this long weekend (my first since starting my new job in November!), not too complicated but something new to challenge myself with. I found my as-yet-unused bundt tin after a rummage in the cupboard and thought, why not?

